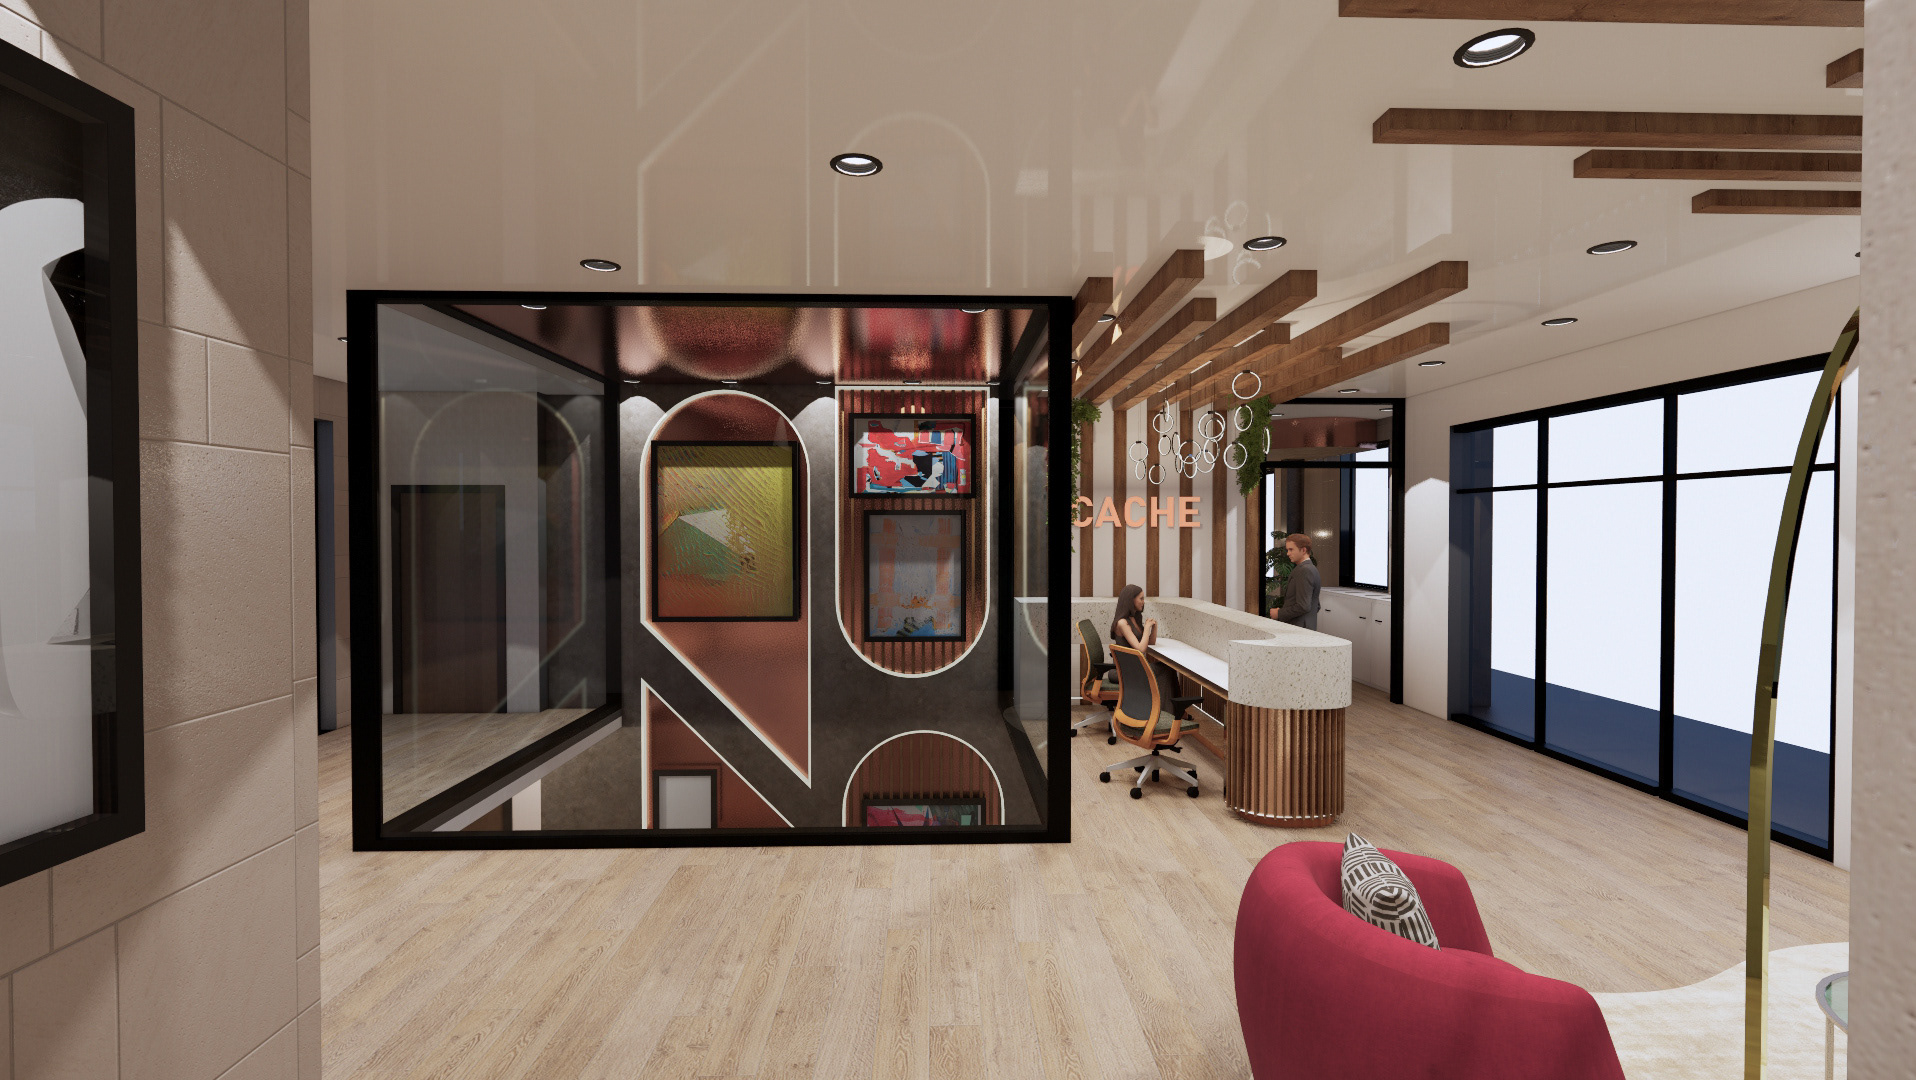
This semester focused on the design and detail of developing products for interior spaces through 3D modeling, woodworking, 3D printing, and of course, the human scale. Working with wood to produce a lamp and chair presented many challenges, which made this semester very rewarding to overcome. I designed my chair based on my own measurements and chose to showcase the chair's wood as well as its surprising comfort. My lamp is inspired by the chain links of jewelry and chose an interactive design with moveable parts, as well as the color-changing LED lamp.
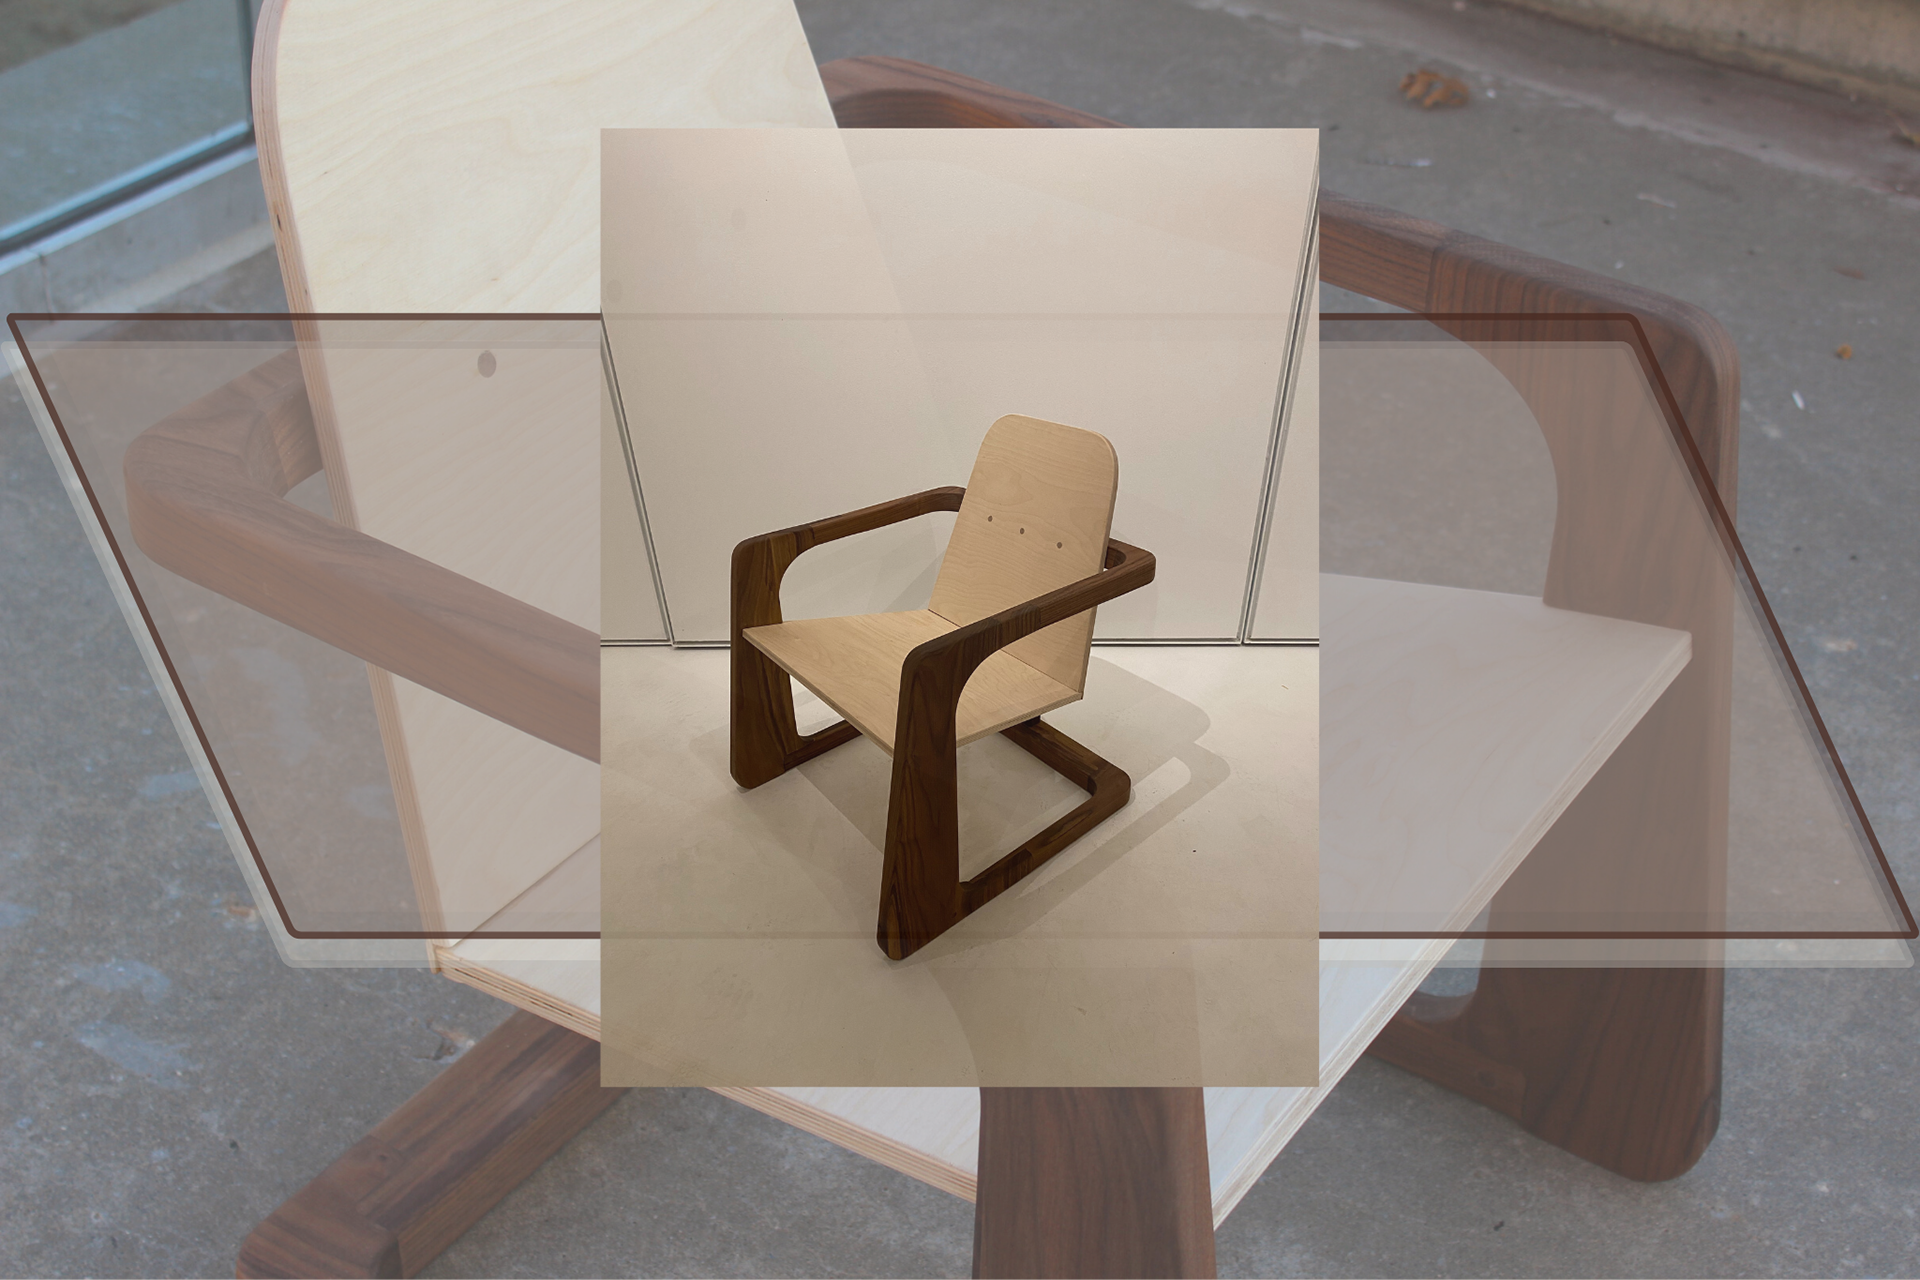
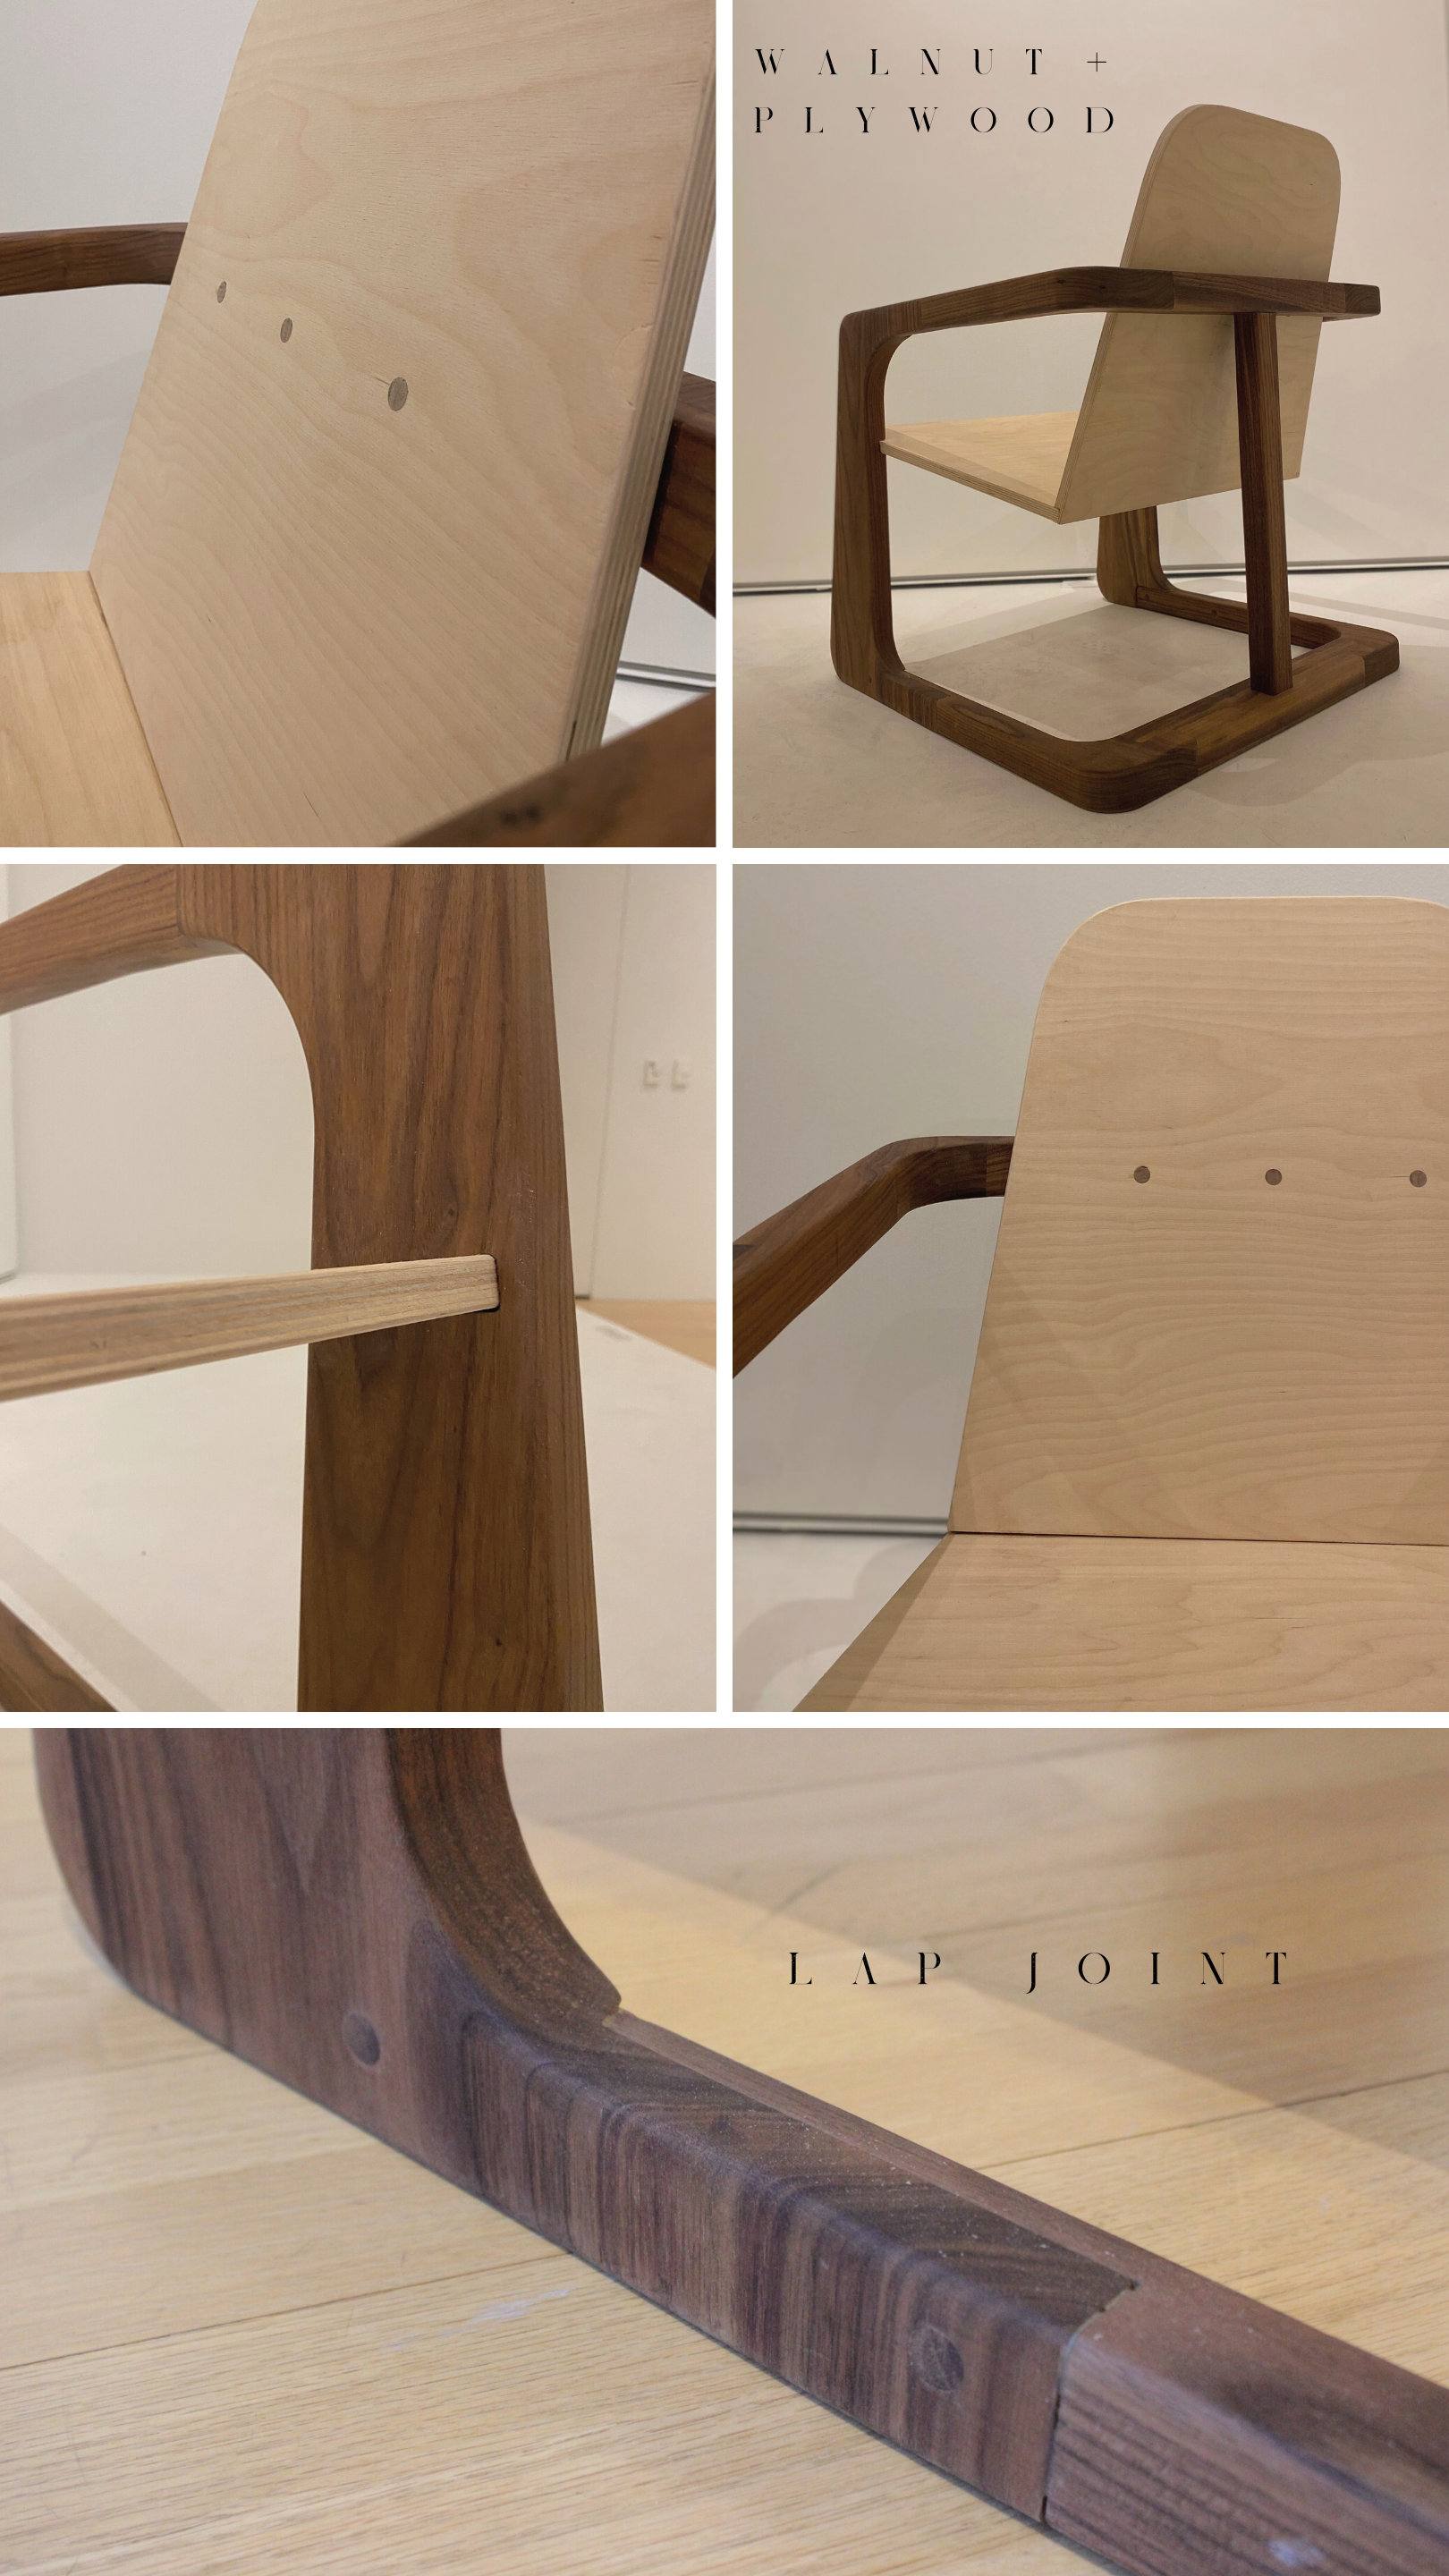


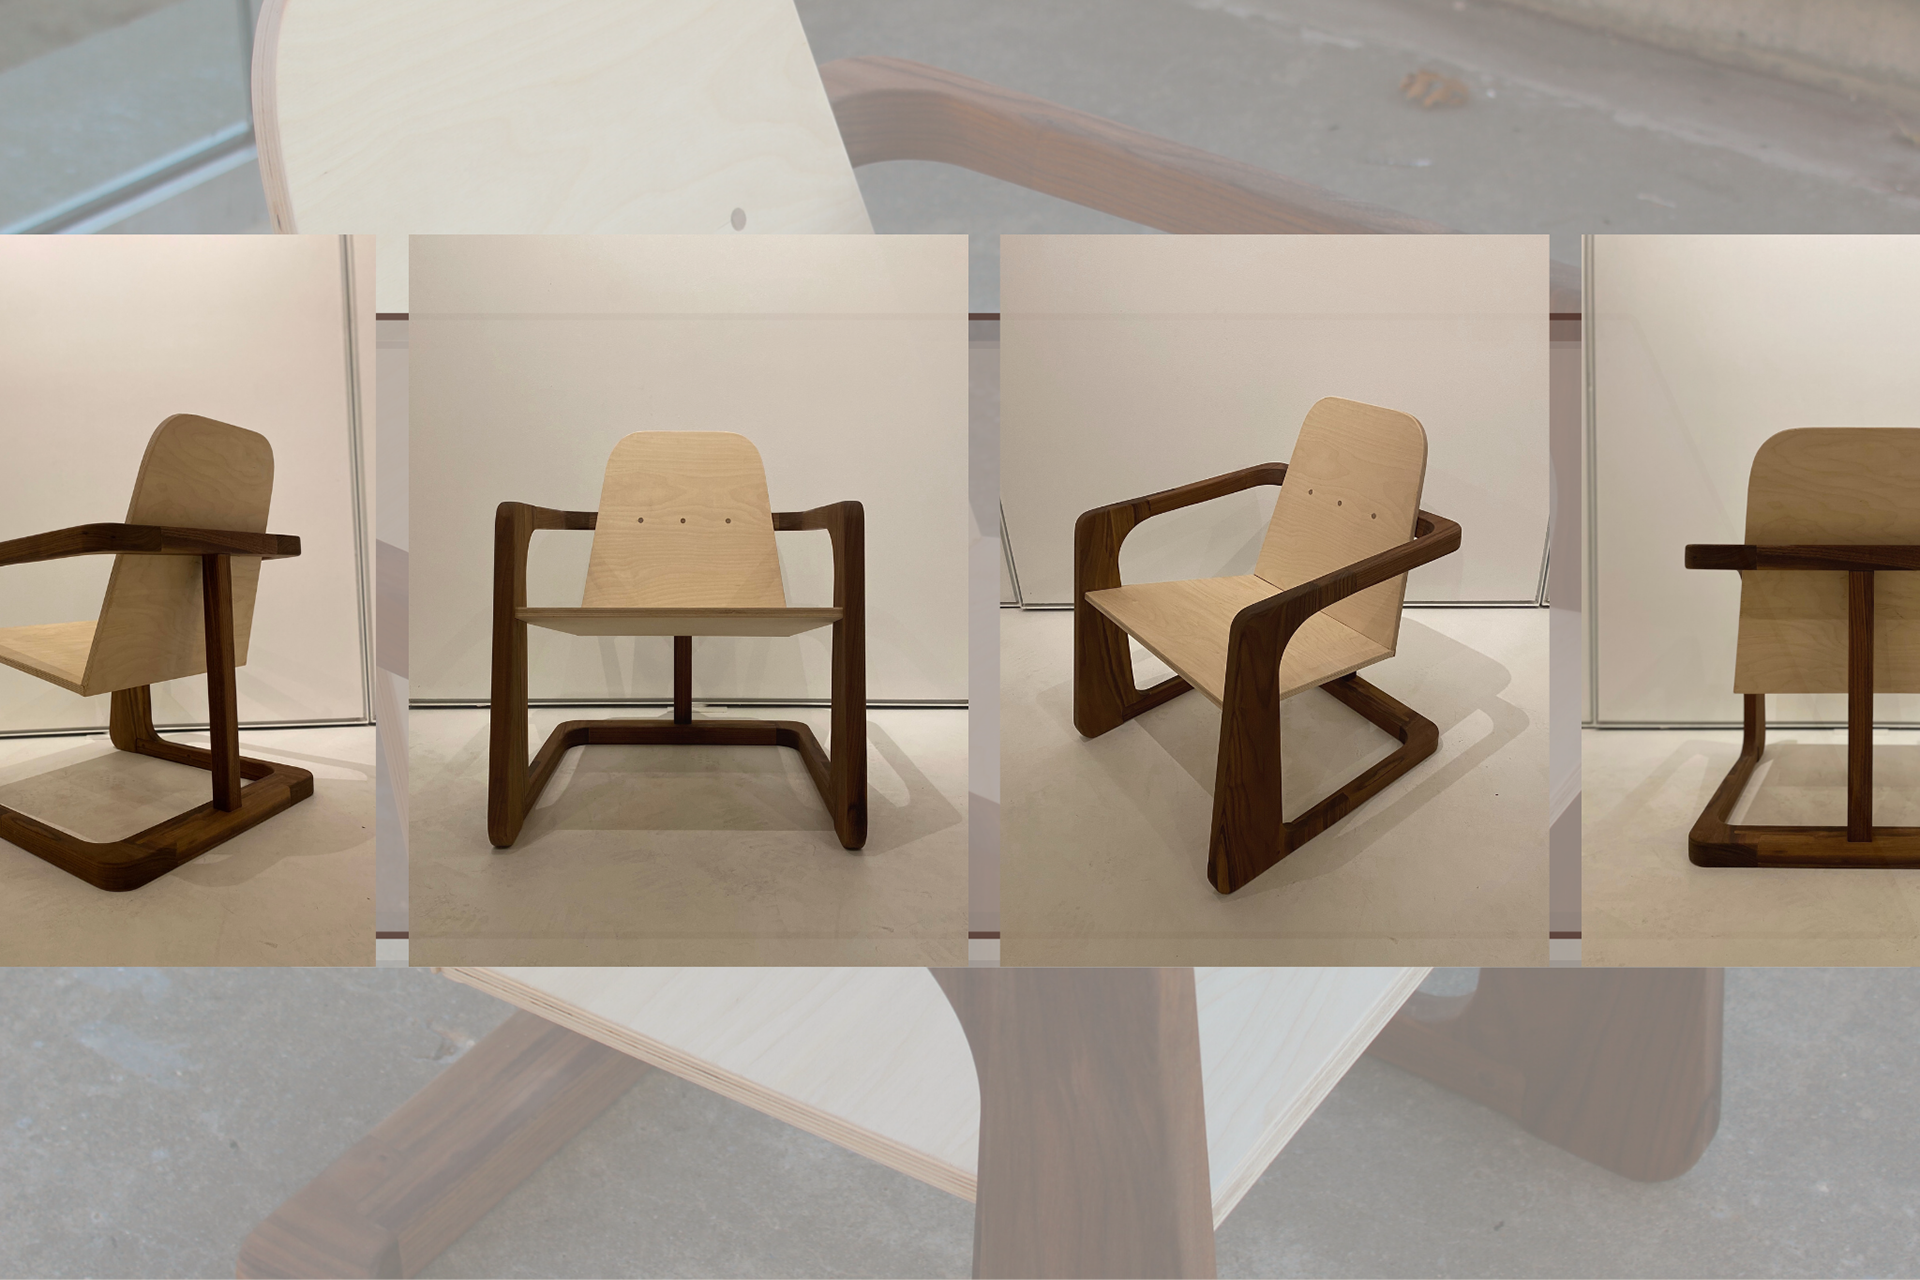
Designing and building a chair was a learning process throughout the entire experience. During the design process, I was drawn towards midcentury modern chairs that showed the beauty of wood through thickness and sleek yet soft curves. After designing and 3D modeling the chair to my precise measurements, I began to plane and glue wood from a 2" thick plank of walnut. I wanted the chair to have about a 1.5" thickness all the way around as part of the "loungey" design I was going for. After the CNC cut, I chiseled out the individual pieces, routed all the edges, and sanded each piece to further soften the design. I glued the lap joints together and later added a supporting back piece, creating a frame that would withstand a person's weight. The seat and back pieces were cut from a 10' sheet of plywood and connected by a lap joint. Next, 3 dowel holes were drilled in both the plywood and frame to ensure the stabilization of the back. I chose walnut dowels from leftover wood to tie the two wood tones together. Using a wet cloth, I finally wiped the frame and sanded down any leftover glue stains before finishing with Danish Oil. To finish it off, I glued the seat to the frame, and the seat's connecting pieces, and hammered dowels into the back where they were then glued and cut.
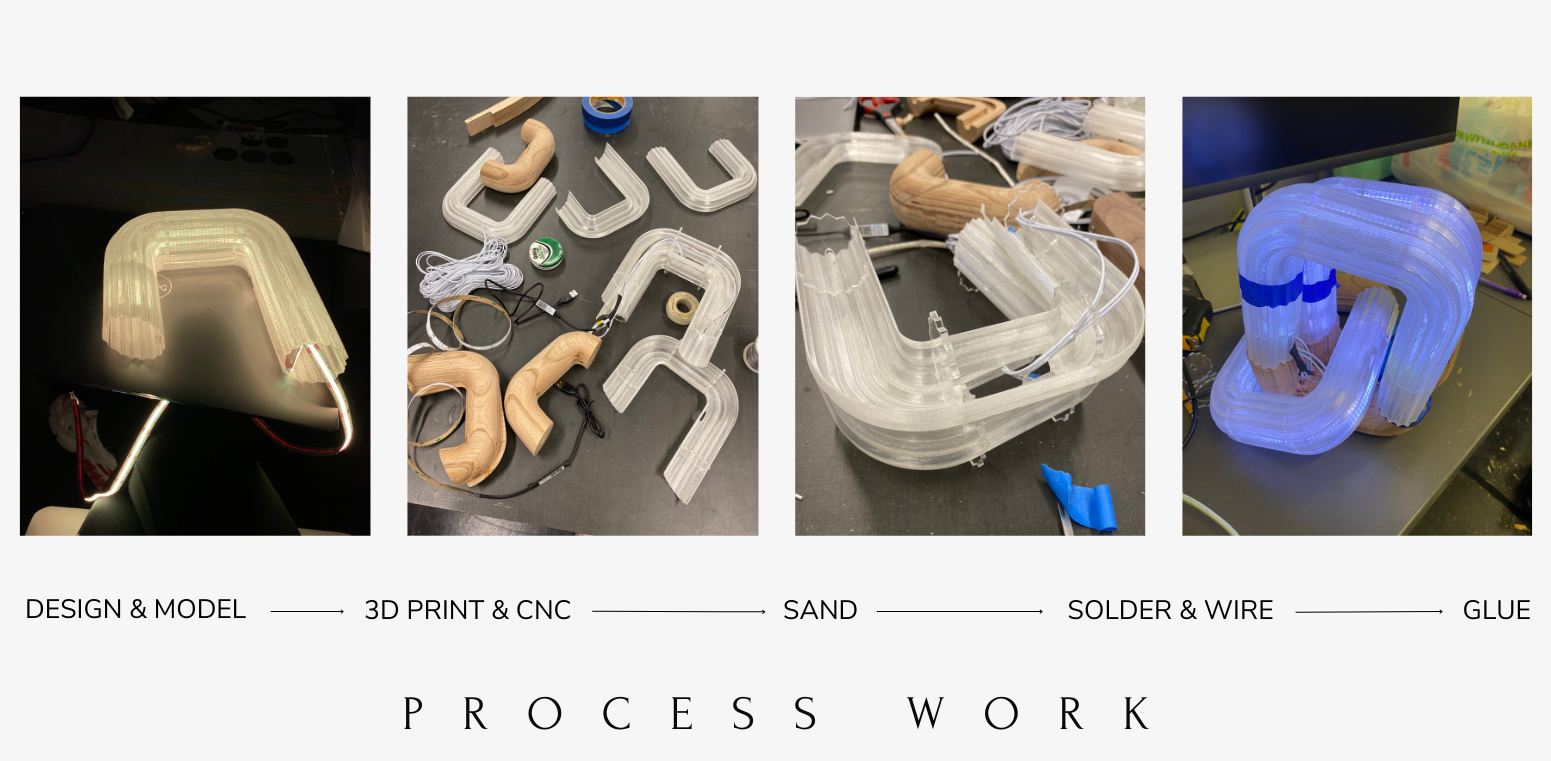
I modeled this lamp off of the basic idea of a chain link because jewelry has always been something special shared between my mom and me. The concept was to use 3D-printed plastic as the diffuser and wood for the base. I found LED lights to be the best type of lighting for this shape because of their flexibility and chose a color-changing strip to make it more interactive. I knew transforming this lamp into a physical, working luminaire was going to be challenging and very different from any physical models I had created in the past. I sanded the wood and had to carefully handpick each of the plastic supports off from the 3D print. Because the plastic was extremely thin, I knew I needed a solution better than glue to attach all the pieces together. I ended up laser cutting 12 acrylic disks that fit inside the shape of the plastic. Gluing four in each "link", I wired the LEDs through. These disks not only stabilized the LED strips in the center of the model, but they also act as connecting pieces that hold all the pieces together. I cut and soldered each LED together with a piece of wire in between. Finally, I finished the wood with Danish Oil and connected the wood bases to the plastic with hot glue.